DIY Drywall Finishing:
Working with Setting-Type
Joint Compound
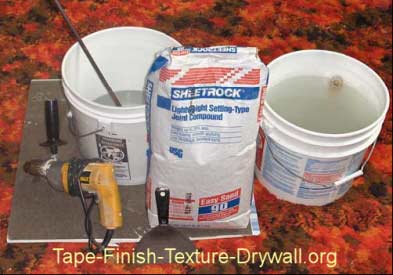
Otherwise known as "Hot Mud", this compound is sold by different manufacturers under several brand names like "Durabond" and "Sta-Smooth".
"Shaving"
The following DIY drywall finishing tips apply to setting-type compound only. For information on EXACTLY how to apply the compound, refer to the Trade Secrets Course.
Setting-Type joint compound sets-up fast, but its not completely dry. If you try to sand it, it only clogs the sandpaper. Its just like hard clay. So how do I remove lap marks and ridges?
Answer: You could wait for it to completely dry and sand it. However, if youre trying to apply multiple coats on the same day, then you need a faster alternative:
DIY drywall finishing tip #1:
Shave it off while its still damp!
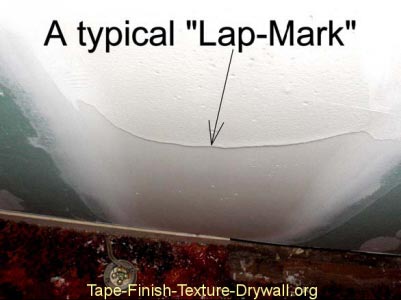
In the damp state, if you try to lay your blade flat against the surface and push on the handle in a scraping motion, it can easily cause deep gouges.
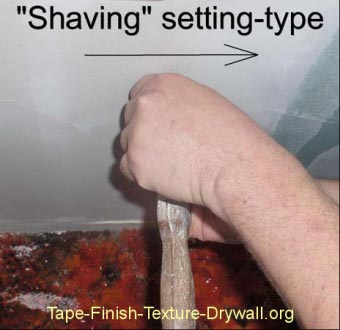
To avoid this problem, try shaving the damp compound:
Make sure that your compound is set-up (semi-hard). Grasp your 6-inch blade as shown and place it against the surface at a 90- degree angle to the surface. Use your thumb and forefingers to firmly rake it across the high spots, lap marks, etc. Youll notice that the damp material shaves off easily, without causing deep gouges.
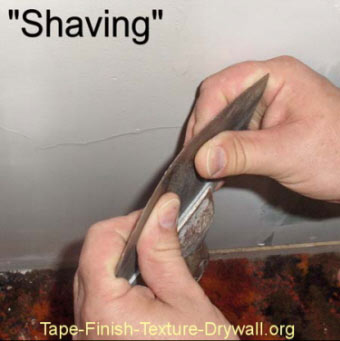
DIY drywall finishing tip #2: By curving the blade with your hands as shown above, you can use the curved shape to remove damp material even more quickly. Pull the blade along so that the corners of the blade lead.
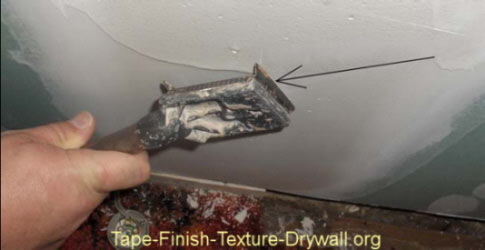
DIY drywall finishing tip #3: I also like using a universal scraping tool like the one shown above for the same purpose. Although this tool is designed for scraping things like old paint, it works great on damp setting-type compounds. - Unlike the dust that becomes airborne by sanding these areas in the dry state, the shavings just fall straight to the floor.
- When setting type compound sets-up its firm just like super-hard clay. If you would ever apply too much compound to some part of the job, its ten times easier to shave off the excess in the damp state.
LESS WORK NO DUST!
| 


